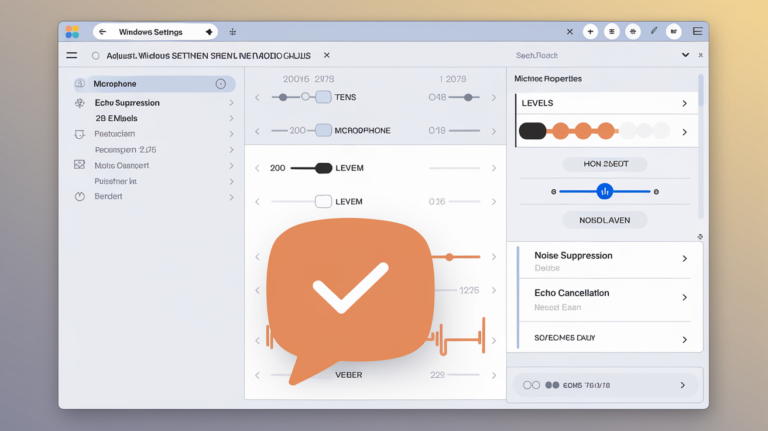
Whether your voice always seems to come from inside a bag during calls, you can change your Windows microphone settings. Several simple adjustments on the Input Device, Volume, and Audio Enhancements will make your voice clear and audible.
Set the Right Input Device
The first thing to check for poor call quality is the Windows default settings for the microphone. This is especially helpful when several audio input options are connected, including a headset and a web camera equipped with a mic.
To check your input device through Sound Settings:
1. Pressing the right mouse button at the bottom right of the Windows flag.
2. This will open a new menu, so you choose Sound Settings.
3. Under the Input section, click the icon with the label Choose a device for speaking or recording.
4. Choose the microphone that you want to use among all the devices that are being recognized.
Adjust the Input Volume
Once you have chosen the right microphone, ensure it is recording your voice at the right volume; you should always check this, especially when you are going to a very important meeting.
If your input volume is low, others on a call will hear everything you say softly and from behind the screen. To adjust your mic input volume:
1. Right-click on the speaker icon in the taskbar to open Sound Settings.
2. Click on the Input settings tab on the Canvas, then turn the Volume slider.
3. Turn the short bar to the right until it reaches the required height or about the middle point.
4. Talk and see how the blue line increases and decreases in the box in front of you.
5. If the bar doesn’t move at all or moves just slightly, the volume is too low; if it hits the top with some regularity, you have the volume too high.
However, if you have a problem getting the impression of the input level, try to bring the microphone closer to your mouth or speak louder towards the microphone. Just a little bit of adjusting will allow you to set the volume that emanates from the speakers just right for your voice.
Enable Audio Enhancements
The Windows microphone has a few basic sound enhancements that can be used to increase sound quality or decrease background noises. To access these settings:
1. Right-click the speaker icon in the taskbar and click on Open Sound Settings.
2. In the Device properties, type under the Input section.
3. On the same tab, click the Audio Enhancements tab as shown below.
4. If available for your device, you should choose the Device Default Effects.
If you don’t have software for your headphones, you can also use Windows Sonic for Headphones, which imitates surround sound and makes your music more noticeable.
To enable it, right-click the speaker icon next to the clock at the bottom right of your screen, then right-click to select a sound output. In Spatial sound, choose Windows Sonic for headphones.
For instance, the SteelSeries Sonar option provides additional ways to personalize your headset or Corsair iCUE if you are using a Corsair headset.
Some of these features include equalizer settings, mushrooms, mic volume boost buttons, and other mic monitoring in real-time buttons, giving you much control over the audio going in.
With these quick changes to your Windows microphone settings, you’re ready to make cleaner, professional-sounding calls. If you’re still having issues or in a pinch, you can also try some of the steps we’ve enumerated in our guide on how to fix your headset mic not working on Windows, or you can use your phone’s microphone for urgent meetings.

